TULIPS
IN OILS
Spring must
be my favourite time of the year, not just because of the promise of warmer
weather but it is the time for our spring bulbs to put on their display of
wonderful fresh blooms. Tulips and daffodils in profusion must be one of the
best sights in the spring garden. Now I might be slightly biased here because
our family business is, selling flower bulbs, anything from the smallest to
tallest flowers from a bulb.
Although I
don’t consider myself a flower painter, I cannot resist the temptation to put a
few blooms in a vase and get the paints out. This was the case with these
beautiful tulips, they were just asking to be painted.
I used a
cardboard box lined with a dark fabric and a daylight lamp to illuminate the
subject. This gave me some strong directional light, which created strong
shadows and contrasts
I had put
the flowers into one of my favourite vases but decided to after looking at the
subject as a whole through a viewfinder, to focus of the blooms themselves.
After all, this is what I wanted to paint in the first place not a still life
painting.
I often come
across paintings where the artist has wanted to paint flowers but painted the
whole scene in front of them ending up with blooms so small they could not put
any detail in. Try to really fill the canvas
I
prepared my board by bonding some cotton sheeting to a 12” x 10” piece of MDF
with Gesso. Another coat of gesso was applied on top and when this was dry,
gave me a fine surface to work on.
Canvas
would have worked equally as well. I then gave it a wash of cobalt to give it a
mid tone
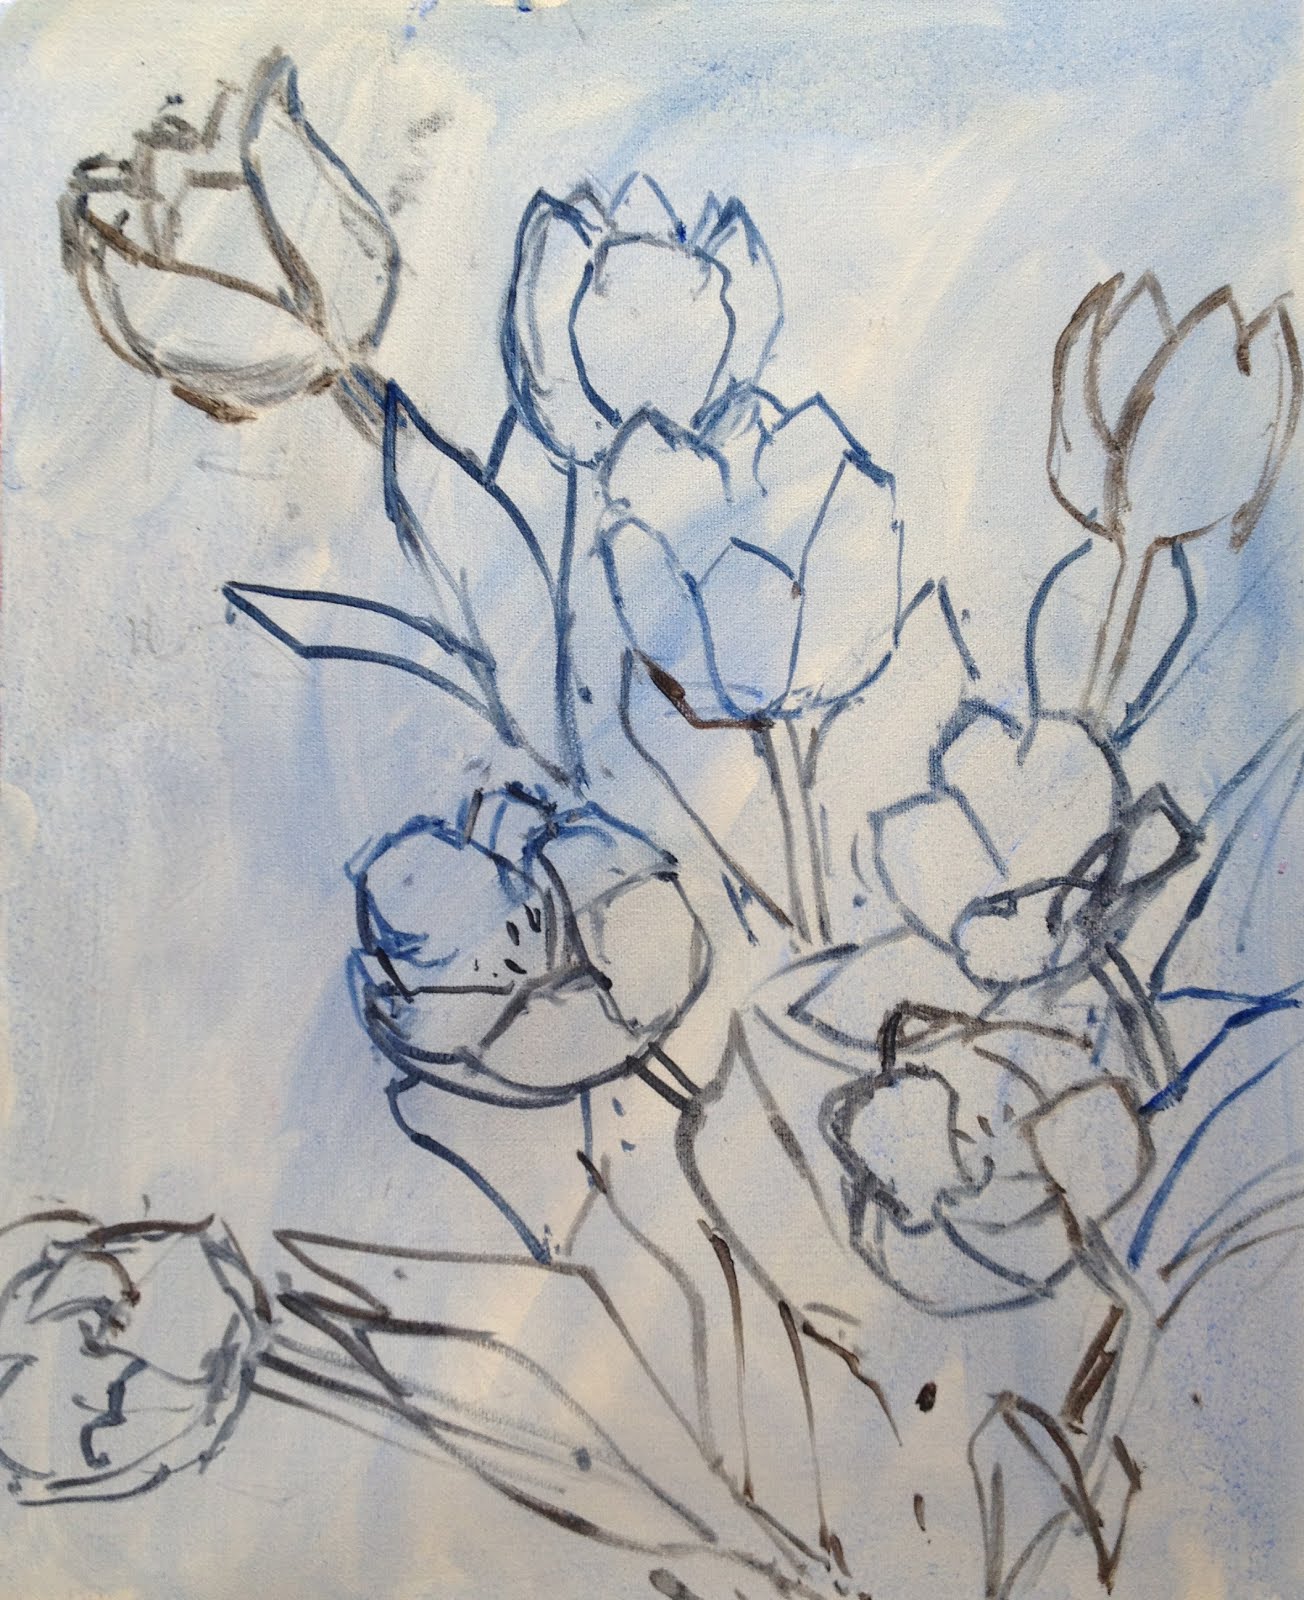
Using Ultramarine and Burnt Umber
diluted with white spirit I draw out my design using a rigger brush. It is
easy to correct any mistakes at this point by wiping out with a turpsy rag.
Using a no. 6 flat brush, with Burnt Umber,
Ultramarine and Magenta I block in the background. I wanted it dark to give the
white tulips the strong contrast. The mix was diluted with white spirit and
dried quickly so I was able to progress quickly to the next stage
With a thin wash of a mid tone indicate the
shadows on the tulips and the leaves. Here, it really helps if you squint at the
subject.
Having now finished my tonal sketch I start
adding thicker paint. Starting with the leaves use white, Ultramarine, Cadmium
Yellow and a tiny bit of Quinacridone Magenta.
Try to put dark against light to give the form
of the leaves. Again, really squint at the subject and try to match the
strength of tones that you see. The touches of dark in-between the leaves help
to give depth to the painting so don’t be afraid to ‘go for it’ with the darks
Moving on to the flowers. Paint the darks
first. For the shadowed side I used Cobalt Blue, Cadmium Red and a touch of
Lemon Yellow with White. Look carefully for subtle colours and changes as you
move towards the lite side of the bloom.
Avoid using pure white as it can look too cold
so add a touch of Cadmium Yellow
Pick out highlights on the edges of the petals
and finally put in the stamens. Here I used Yellow Ochre for the darker part
further inside the flower and picked out the light with Cadmium Yellow
At this point I had to consider whether I the
picture was finished. I had only roughed in the background with a thin dark
wash. It was tempting to paint the background in with a thicker layer of paint
but what colour? My cloth I used to show off the blooms was a striped dark red.
The stripes would have been too fussy. A dark blue would have worked. After a
lot of consideration I made the decision to leave well alone. I would be
interested to know what you would have done.
September
through to November is the ideal time to plant your bulbs for a fine display
next spring
Mo’s family
business is Gee Tee Bulb Co
You can see
the full range of bulbs at www.gee-tee.co.uk Have a browse and be inspired to
get planting and painting.
Turn to page
0 to see a special offer for SAA members.
Materials:
W & N
Titanium White
W & N
Lemon Yellow
W & N
Cadmium Yellow
W & N
Cobalt Blue
W & N
French Ultramarine
W & N
Yellow Ochre
W & M
Quinacridone Magenta
SAA Cadmium Red
SAA Silver
rigger
SAA flat oil
brushes 2, 6 & 10
www.moteeuw.co.uk